
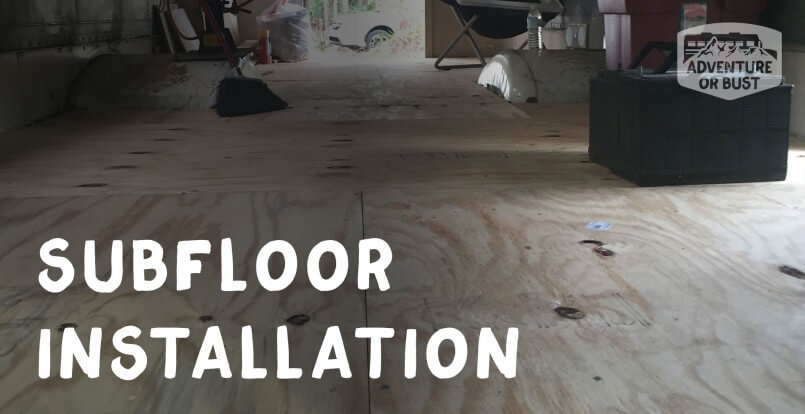
14 Mar Workweek 3 – Subfloor Installation
Sub-floor and floor insulation.
Ok as always this blog is intended to be a “how we did it” not necessarily a “how to.” If you have any questions about what specific product we used check our expense sheet.
Now that the floor is all patched up and painted, its time to figure out how to get the subfloor in. There are many schools of thought to the best way to get the highest R-value. The idea is to pack as much insulation into a space as possible while also avoiding thermal bridging. Thermal bridging allows the transfer of heat (whether from inside or out) to travel through something other than your insulation and disrupt the inside temperature. A quick Google search for thermal bridging will get you up to speed if you are still confused.
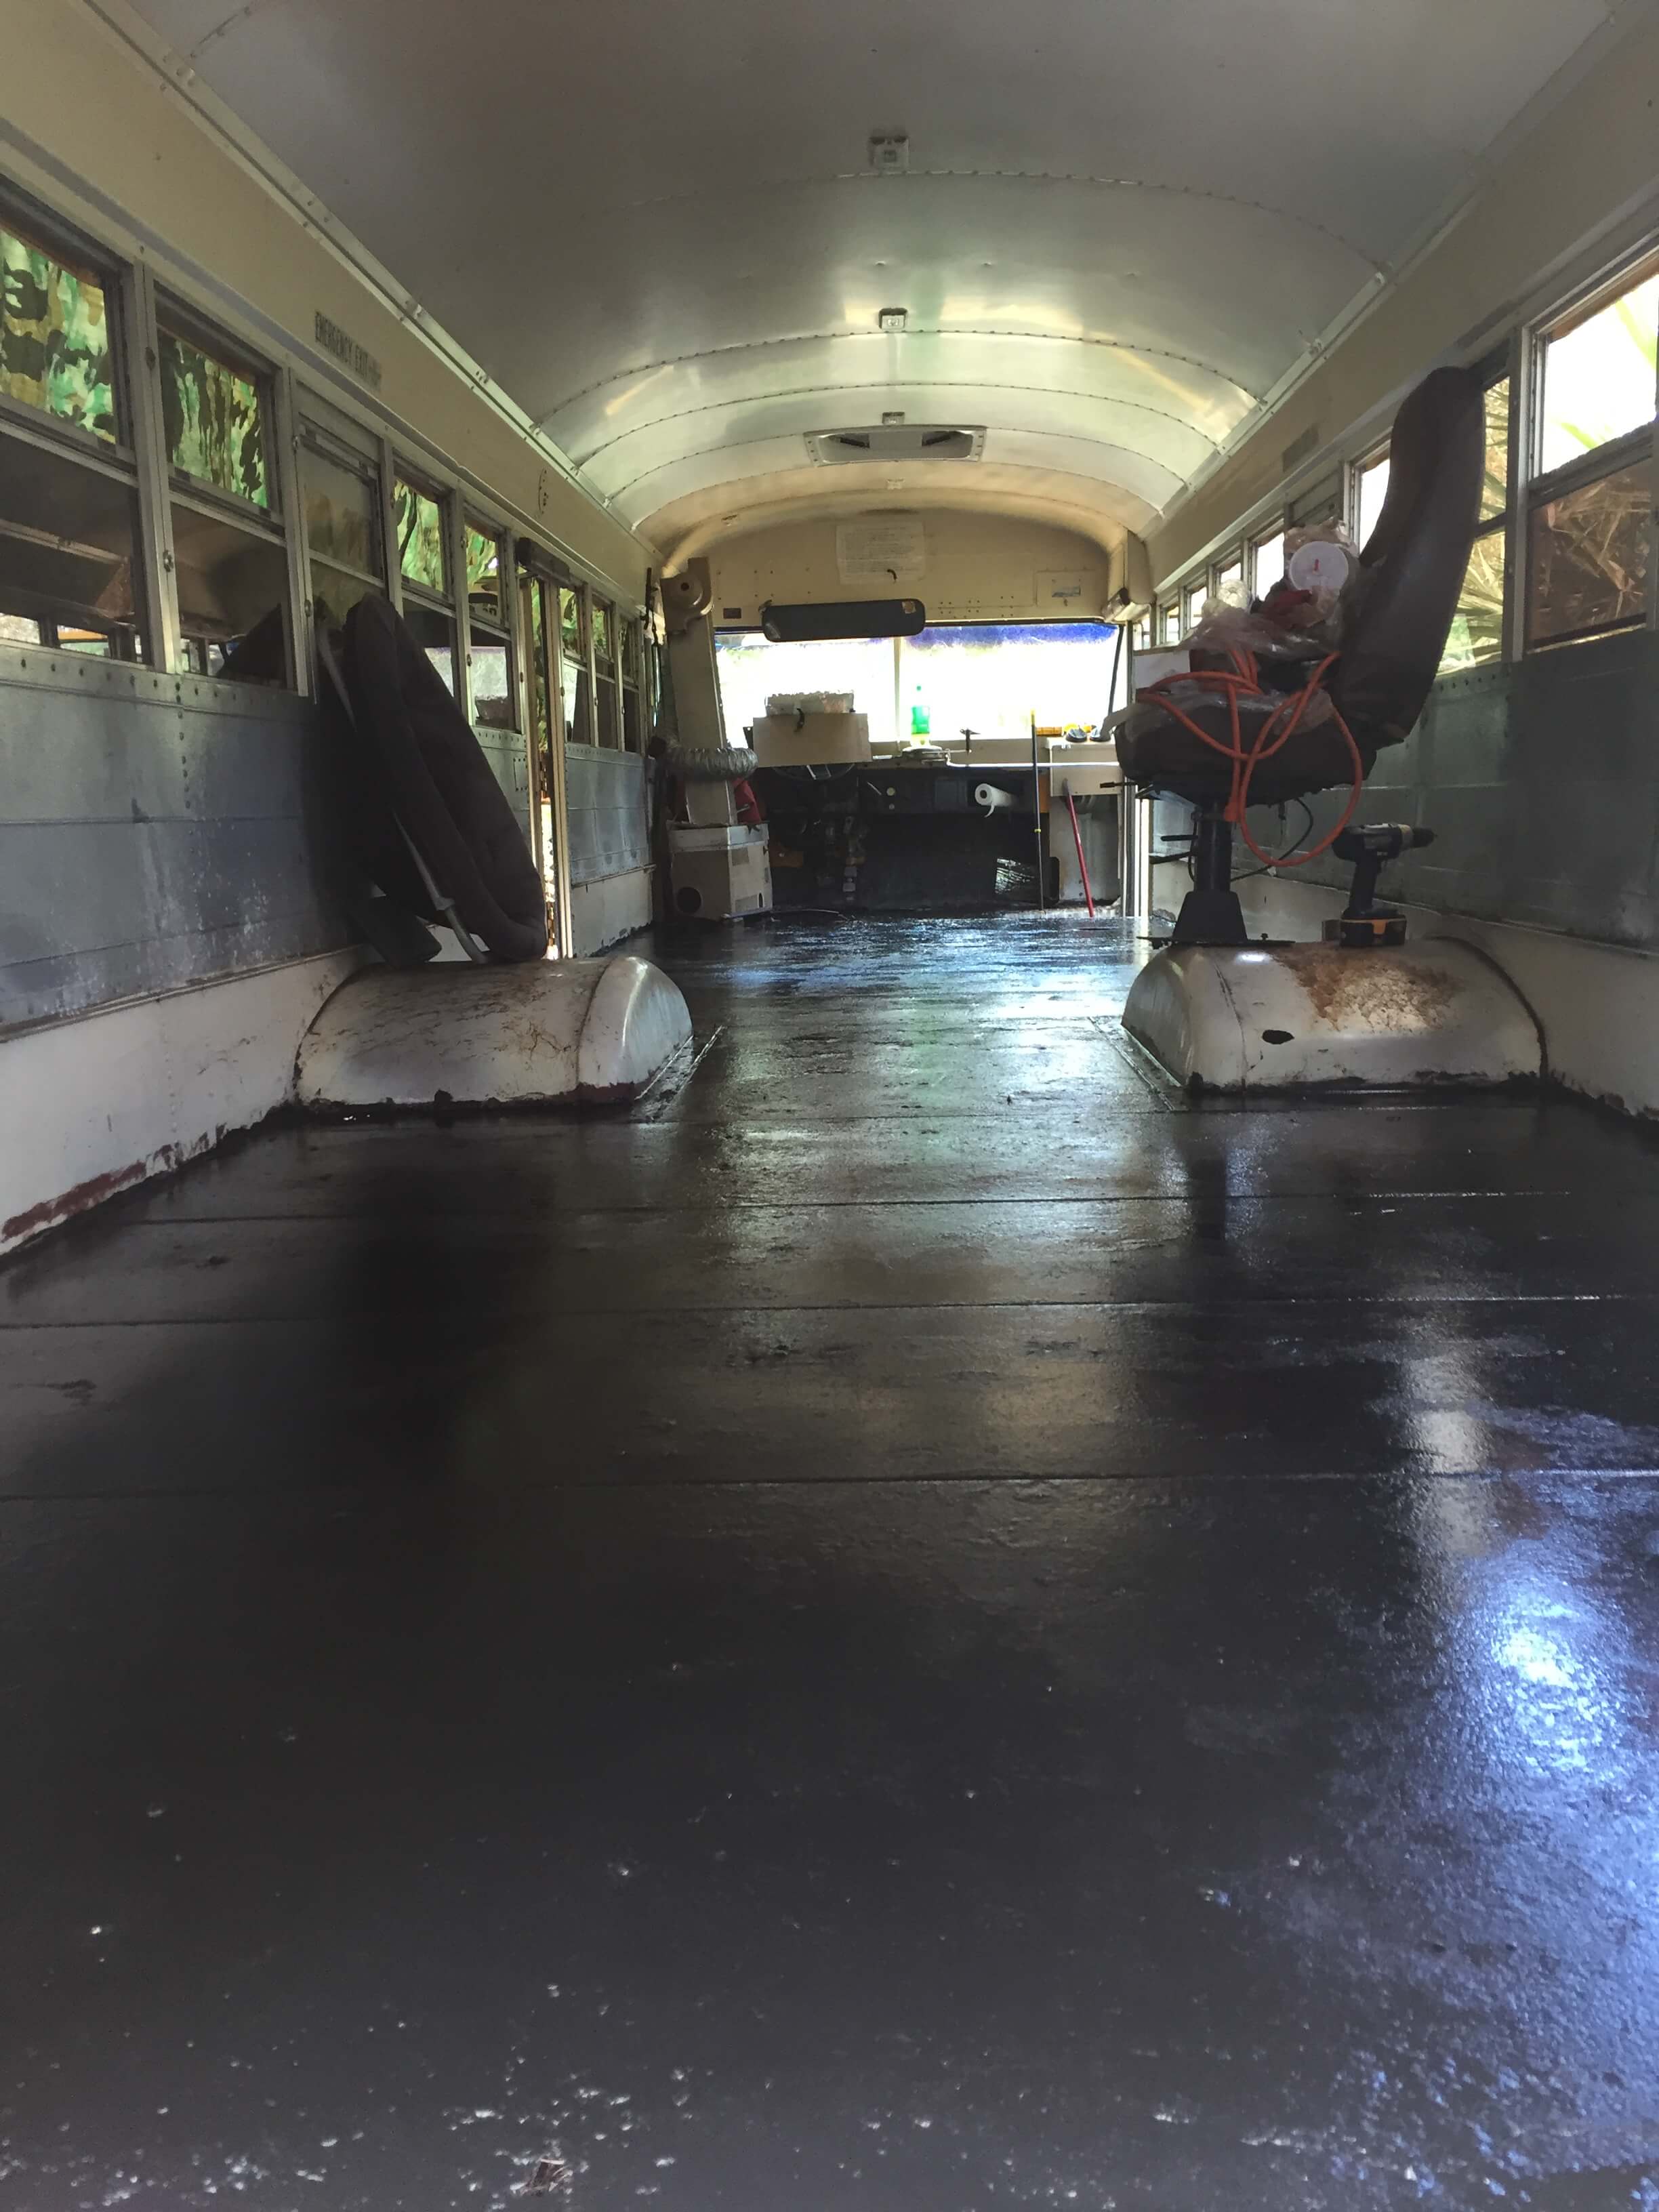
Now! Let me tell you guys what we did. I attached 1x4s as furring strips along the perimeter of the bus. Then about every 2 ft. on center I put one strip across the bus widthwise. The furring strips were attached with a TON of construction adhesive and 3 sheet metal screws strait into the metal floor. I hated the idea of poking new holes in the floor I had just spent so much time patching. However I wasn’t about to wait around for the adhesive to dry.
After the furring strips are in measure the voids in between where the insulation will lay. We used ¾ inch R-MAXX poly sheets from Home Depot. The insulation was glued into place using special foam construction adhesive. Some adhesives will eat foam (so be careful!). Most sheet insulation comes with plastic on the outside to protect it from this sort of thing (but why take chances). Once the insulation is in place it must be held in place while the adhesive dries.

Since a 1×4 isn’t truly 1inch by 4 inches its actually ¾ by 3 ½ inches they are the same height as the insulation sheeting. This meant the easiest/fastest way to hold the insulation in place while it dries is to put in the subfloor. We used 19/32 plywood it falls somewhere in between ½ and ¾ thick. I thought of using ¾ but I didn’t want to sacrifice any more head-room. The plywood we used is plenty stiff enough the floor has no sag. The installation of the plywood is pretty easy stuff. Cut it to fit and drop it in. Remember to put in a moisture barrier and make sure the screws you use aren’t too long (you don’t want them to touch the metal floor and ruin your thermal break. I put in a screw about every 6 inches along all the furring strips.
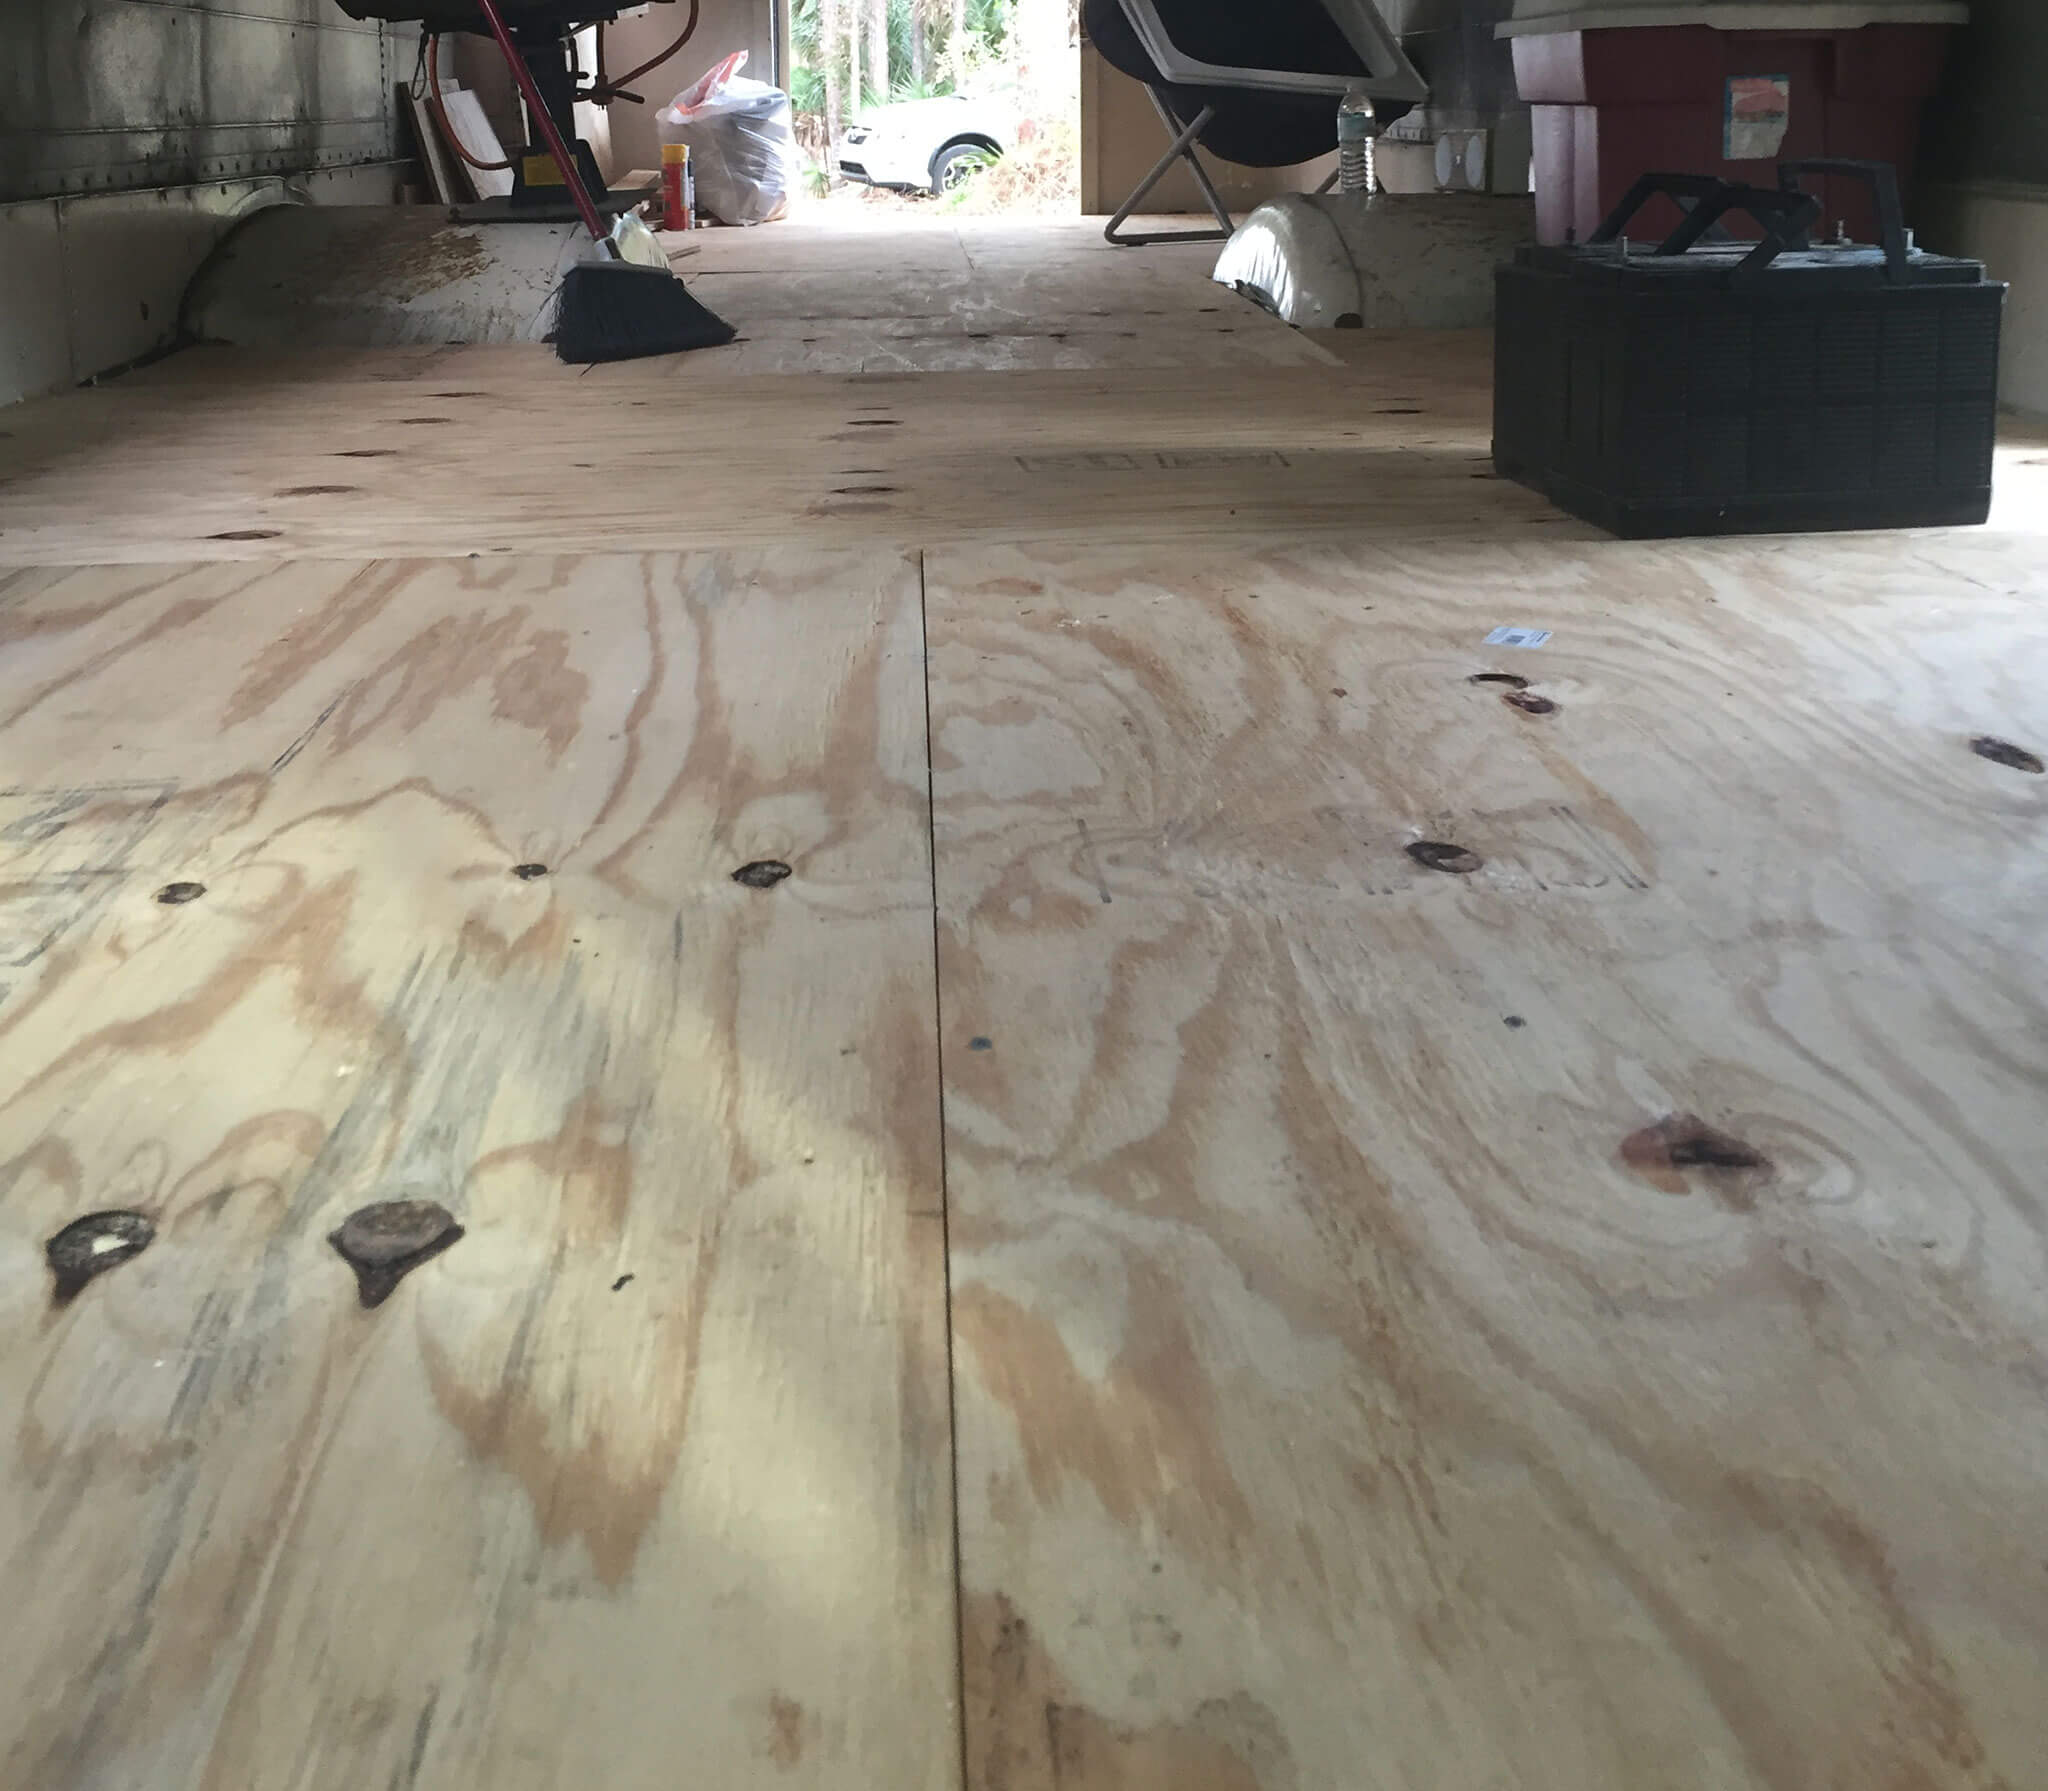
That finishes up the subfloor!
Me? I’m a jack of all trades and a master of none. I enjoy anything that takes me outdoors, especially fishing and camping. How many times in life do you have an opportunity to do something truly life changing?
“Buy the ticket, take the ride.”
–Hunter S. Thompson
