
26 Feb Workweek 1 – Seat and Floor Removal
It’s official. We survived the first week of bus renovations. Here’s what we did:
- Removed all the seats
- Pulled up the rubber floor
- Pulled up the wooden subfloor
The detailed of what we did each day are below.
Saturday, February 20th
We removed a total of 22 seats from the bus, and it was just as much of a pain in the ass as it sounds.
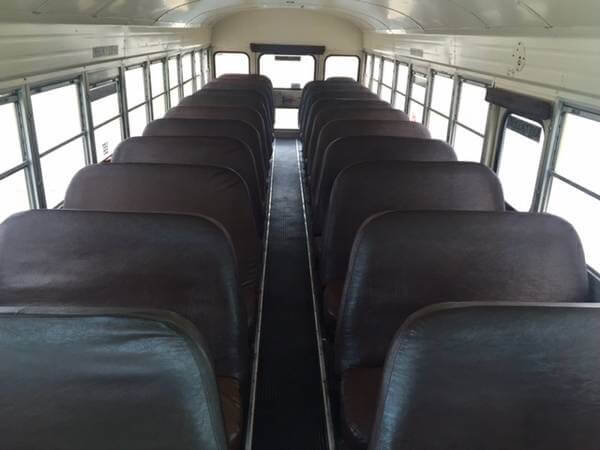
The seats are attached at both the floor and the wall of the bus. The bottoms of the seats are bolted to the floor and the nut is actually underneath the bus. Instead of having someone hold the nut in place beneath the bus, Steven used an angle grinder and just cut the heads off bolts.
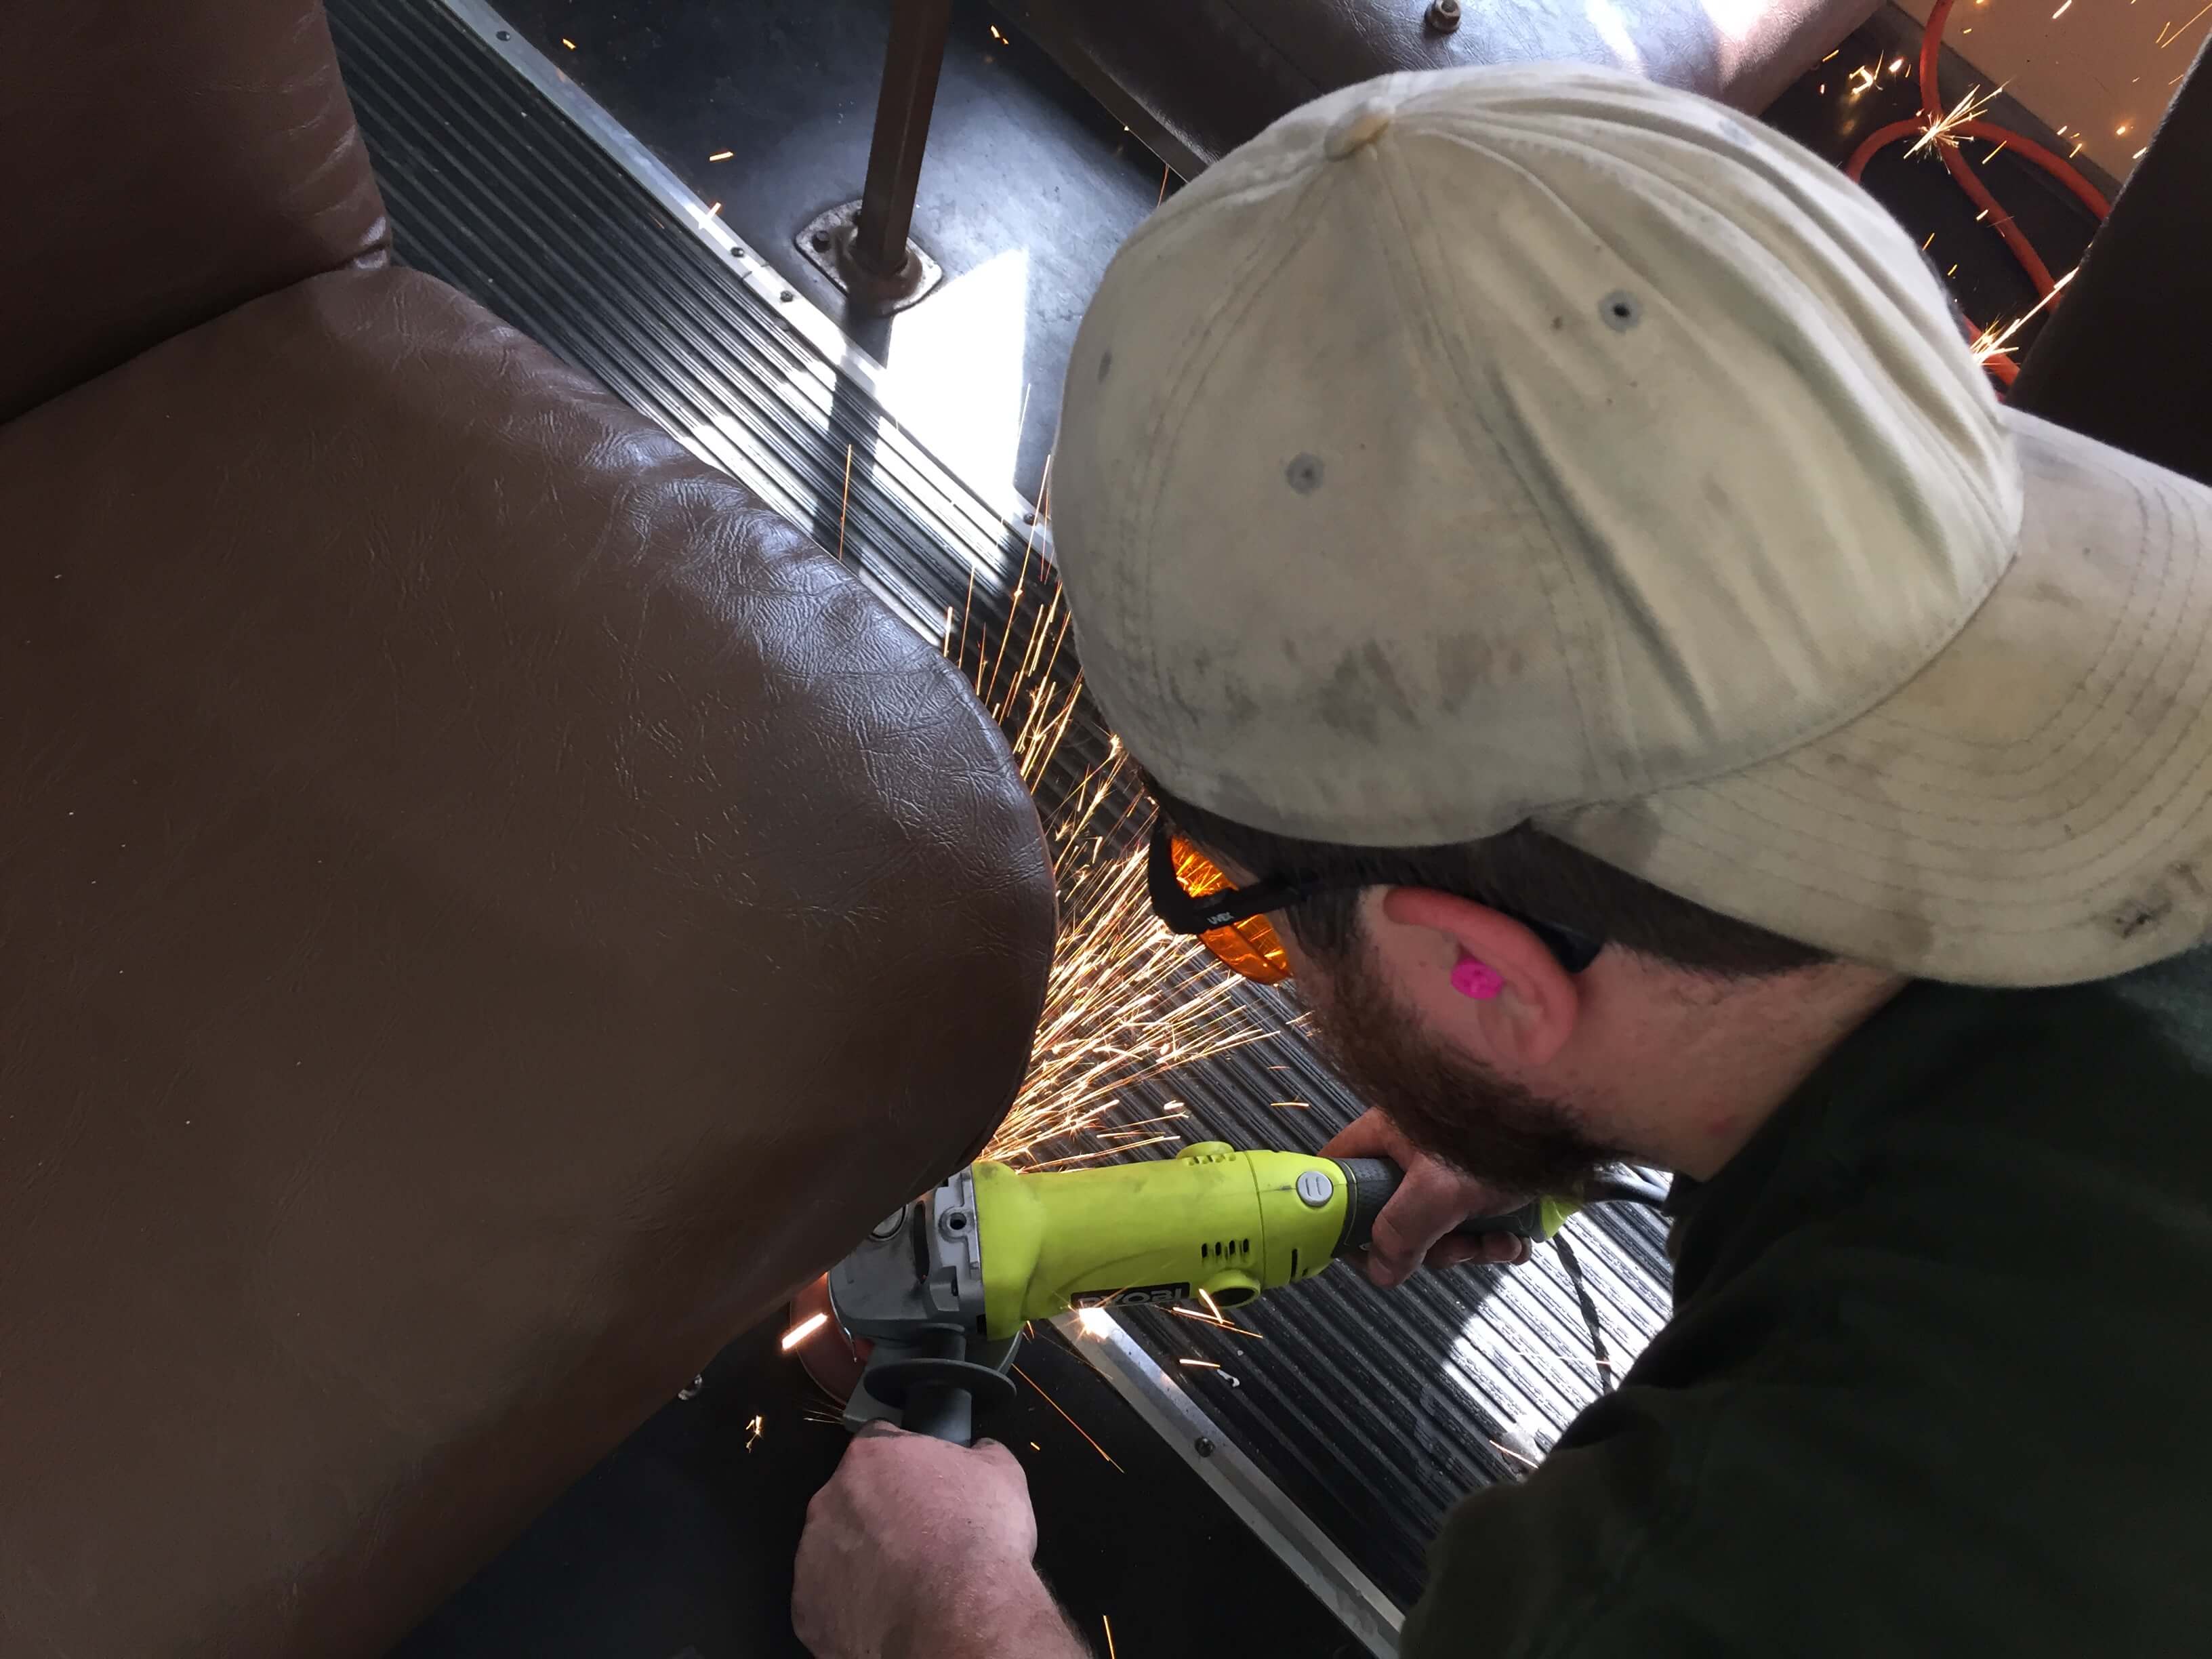
While Steven cut the bolts that held the seats to the floor, his cousin and I un-bolted the side of the seats from the wall. It’s a little awkward to have to maneuver under the seats to reach the nuts. We kind of had to hang upside down to reach them. Many of the bolts that hold the seats to the wall are difficult to get at. A few were stripped in the process ( no big deal we just cut them off with the grinder).
We removed every single seat…well almost. One of the seats above the wheel well had a stripped nut, and it was impossible to fit the angle grinder between the nut and the wheel well. After a good 45 minutes of struggling to get the nut off, we decided to save this seat for the next day.
Sunday, February 21st
We returned Sunday morning to tackle that problem seat. We had to get a little crafty.We cut the bolts off the legs. Using a ratchet and a wrench, we removed one of the bolts from the wall. Since the final bolt could not be reach with the chair in its normal position, we forced the chair sideways, given access to the final bolt.
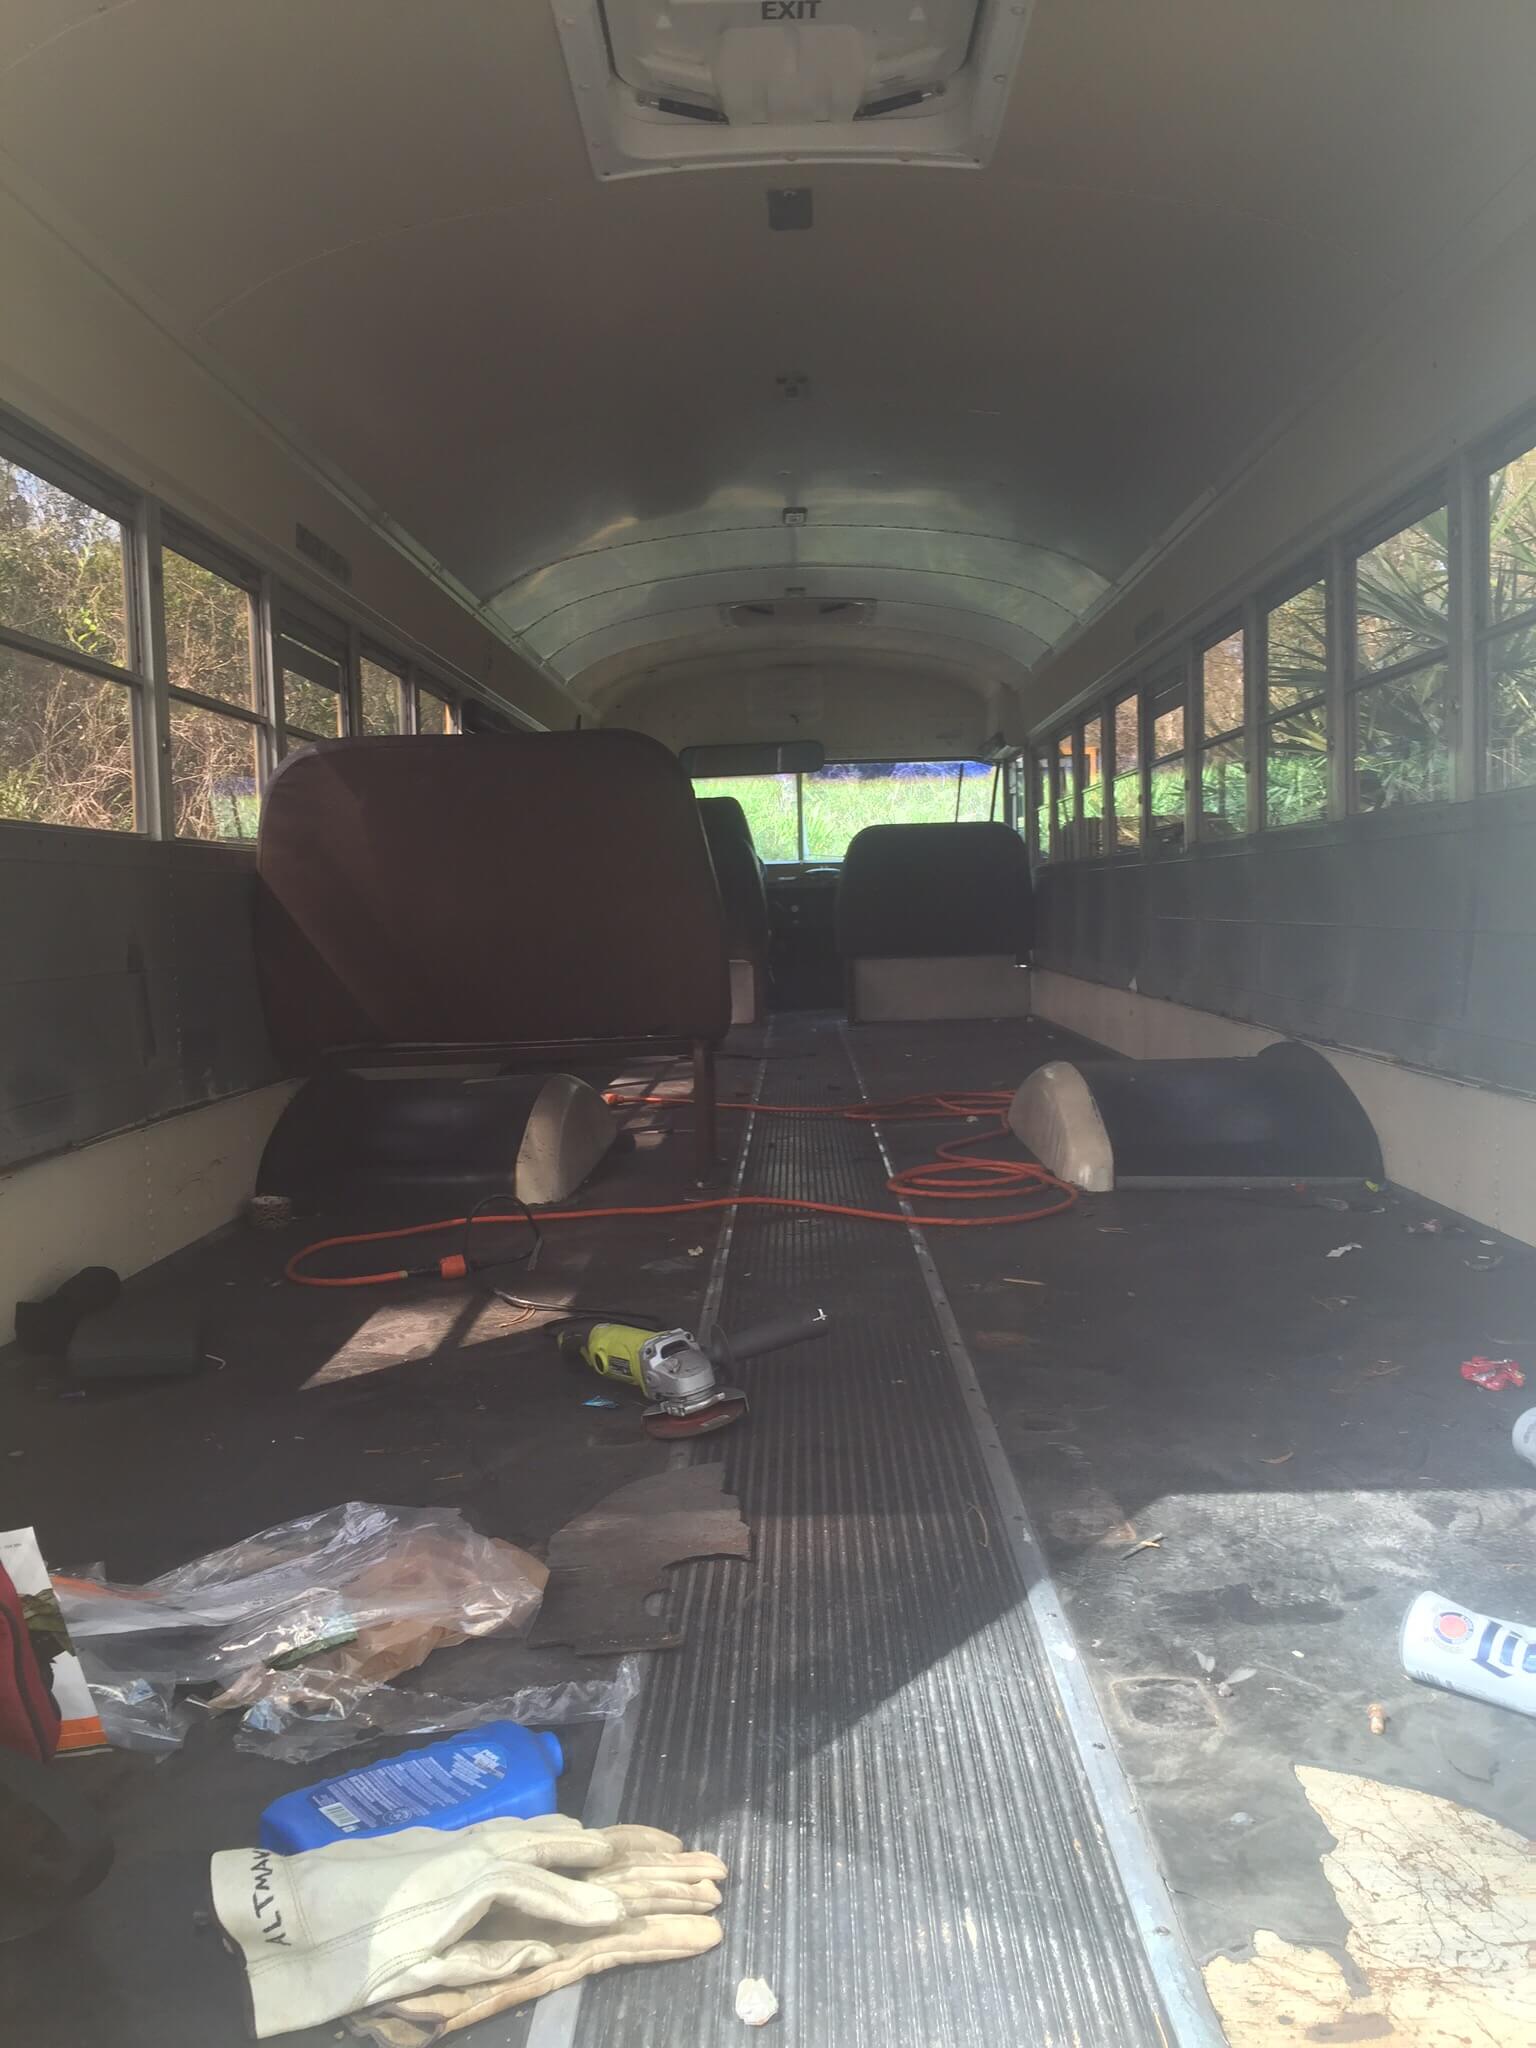
With all the seats removed, we were ready to move onto the floor.
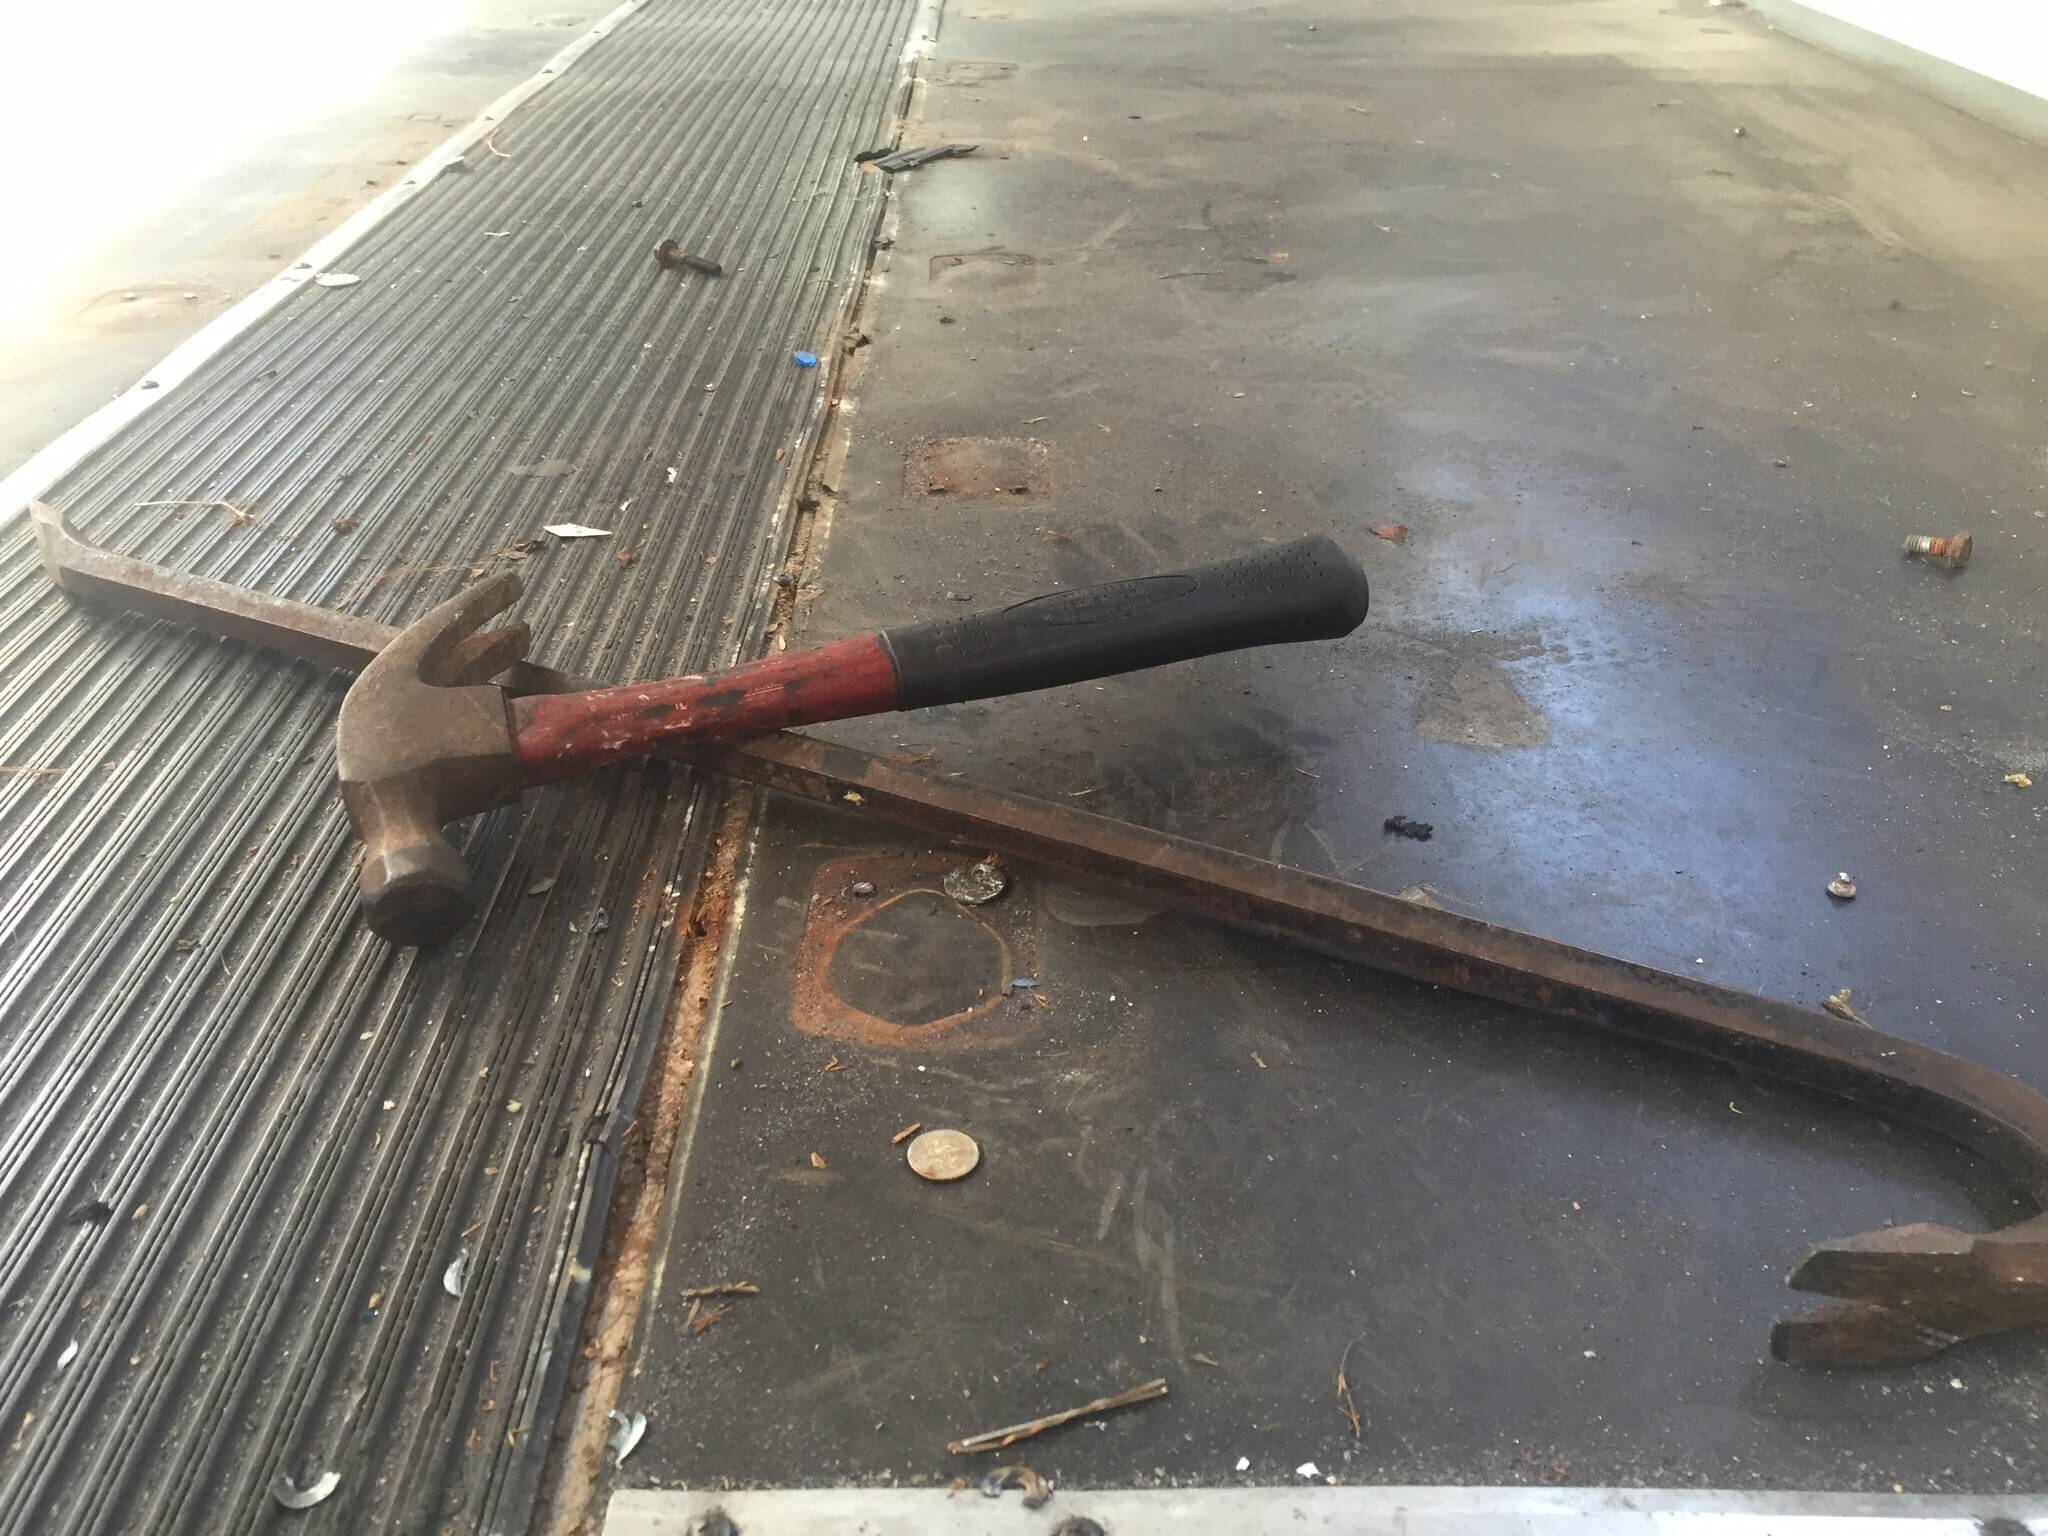
Removing the rubber flooring was very easy. It peeled right up. What was difficult was removing the wooden sub floor. Getting 20+ year old plywood off the floor is no joke! When the plywood was installed in our bus it was glued down and screwed into the metal floor as well. The best way we found was to remove what screws weren’t completely rusted, and leave the ones that were destroyed. For this step you will need a big crowbar, leverage is your friend (bigger bar=better). Then using a hammer and crowbar you pretty much just pry up the boards. IT SUCKS, but just keep at it.
Once all the plywood is out you are left with a bit of a mess. There will be some old rusty screws that didn’t come up with the wood that will need removing. Use the crowbar if the have a head on them. If the head is missing from the screw we just drove them through the floor with the hammer. Then you have to deal with the rust. Oh! the RUST!
We were surprised by the amount of rust on the floor of the bus. During our inspection before we bought the bus the floor looked really solid from underneath. We did find a few small holes localized under the front emergency exit. When questioned the seller responded that the old emergency roof hatch used to leak but had been replaced. Since the rest of the floor looked good we decided we would deal with the rust and hope that it was localized to that area. It wasn’t, plywood does a pretty good job of wicking moisture around. and the front half of the bus had some pretty bad surface rust that needed treating. Thats another project and another blog post coming soon!

Hello! I’m one half of Adventure or Bust. I’m originally from Baltimore but grew up in Sarasota, Florida. I run a small Strategy and Design company called Ascent Collective. I’m extremely passionate about sustainability, minimalism, tiny life, and personal finance. I enjoy hiking, fishing, biking, and spending time with Steven and our two Aussies.
